

How to Make Your Own Pickles

Ingredents:
Cucumbers
Pickling salt
Distilled vinegar
Dill
Garlic
Celery seeds (optional)
Peppercorns (optional)
Hot peppers (optional – to taste)
What you’ll need:
Large pot
Tongs or Jar lifters
Ladle
Jar funnel (optional)
Magnetic Lid lifter (optional)

To be honest, I’m no expert when it comes to growing and preserving my own food. I can’t regale you tales of growing up back on the farm, learning from my elders the ways of time gone by. No. I grew up in a white suburban neighborhood and my mother should be a contestant on ‘Nailed It’, not ‘Master Chef.’ To give you an idea, she used to blame her burnt cookies on the oven, not her lack of culinary skills. To say that we grew up mostly on spaghetti, well-done steak and various forms of take out is a more accurate depiction of my food memories.
My Mom may be a mediocre cook, but she did always have a garden. She would grow strawberries and tomatoes mostly. I think she grew those tomatoes because she knew it was the one food in the house the kids would refuse to eat, and she could get them all to herself. LOL.
Fast forward to adulthood, I find myself following in my mother’s footsteps with our little backyard garden. It was one of the first additions we made to our house, a 10ft x 4ft raised garden bed filled with rich compost and organic soil.
Not to mention, I really enjoy tomatoes. Go figure.

I tell you all of this not to send you running for the hills, but to encourage you! If I, of all people, can not only make a garden survive but learned how to make something delicious with a plentiful summer bounty, YOU can certainly start canning too!
Making my own pickles is one of the easier things I’ve taught myself to do. And I’m more than happy to share that knowledge.
You don’t need to grow your own ingredients from scratch to make pickles - that can just be 50 point to Gryffindor if you do. If you are purchasing your cucumbers, just make sure they are of a pickling variety if you plan to preserve them for more than a couple of weeks. Typically pickling cucumbers have a more bumpy exterior. The smooth cucumbers that are more often in your garden salad don’t hold up well to the boiling process and can make for some mushy pickles. And yes, I do know that from personal experience. Sorry to everyone who was on the receiving end of my pickles that year…

Alright, Let’s Begin!
Step 1: Sterilize
Sterilize your preserving jars and lids by carefully boiling them in a large pot. How many jars you will need depend on how many cucumbers you have. I've found that about 2 cucumbers fit per each 16oz. jar. (depending on the size of the cucumber)
The water should be fully covering the lip of the jars. There are tools you can buy to help you lift your jars in an out of the pot, but if you don’t feel like buying extra gear, you can just use a trusty pair of tongs. Just don’t hold me responsible if you end up spilling boiling hot liquid on yourself. We don’t need another McDonalds coffee lady situation on our hands…
Allow the jars to cool before packing them with your ingredients.

Step 2: Prep
While your jars are boiling, prep the ingredients. Wash the cucumbers and peel your garlic cloves. Optional to wear gloves if you don’t want your hands to smell like you’re vying to play the next Buffy the Vampire slayer. (Side note, my Husband informs me that there is no garlic in Buffy, and I would know that if I was a better nerd.)
For small cucumbers, you can leave them whole. For larger varieties, cut off the top and bottom ends, and slice vertically into spears. Or you can cut into disks if you’d prefer to make sandwich pickles. I’m not here to cramp your style.

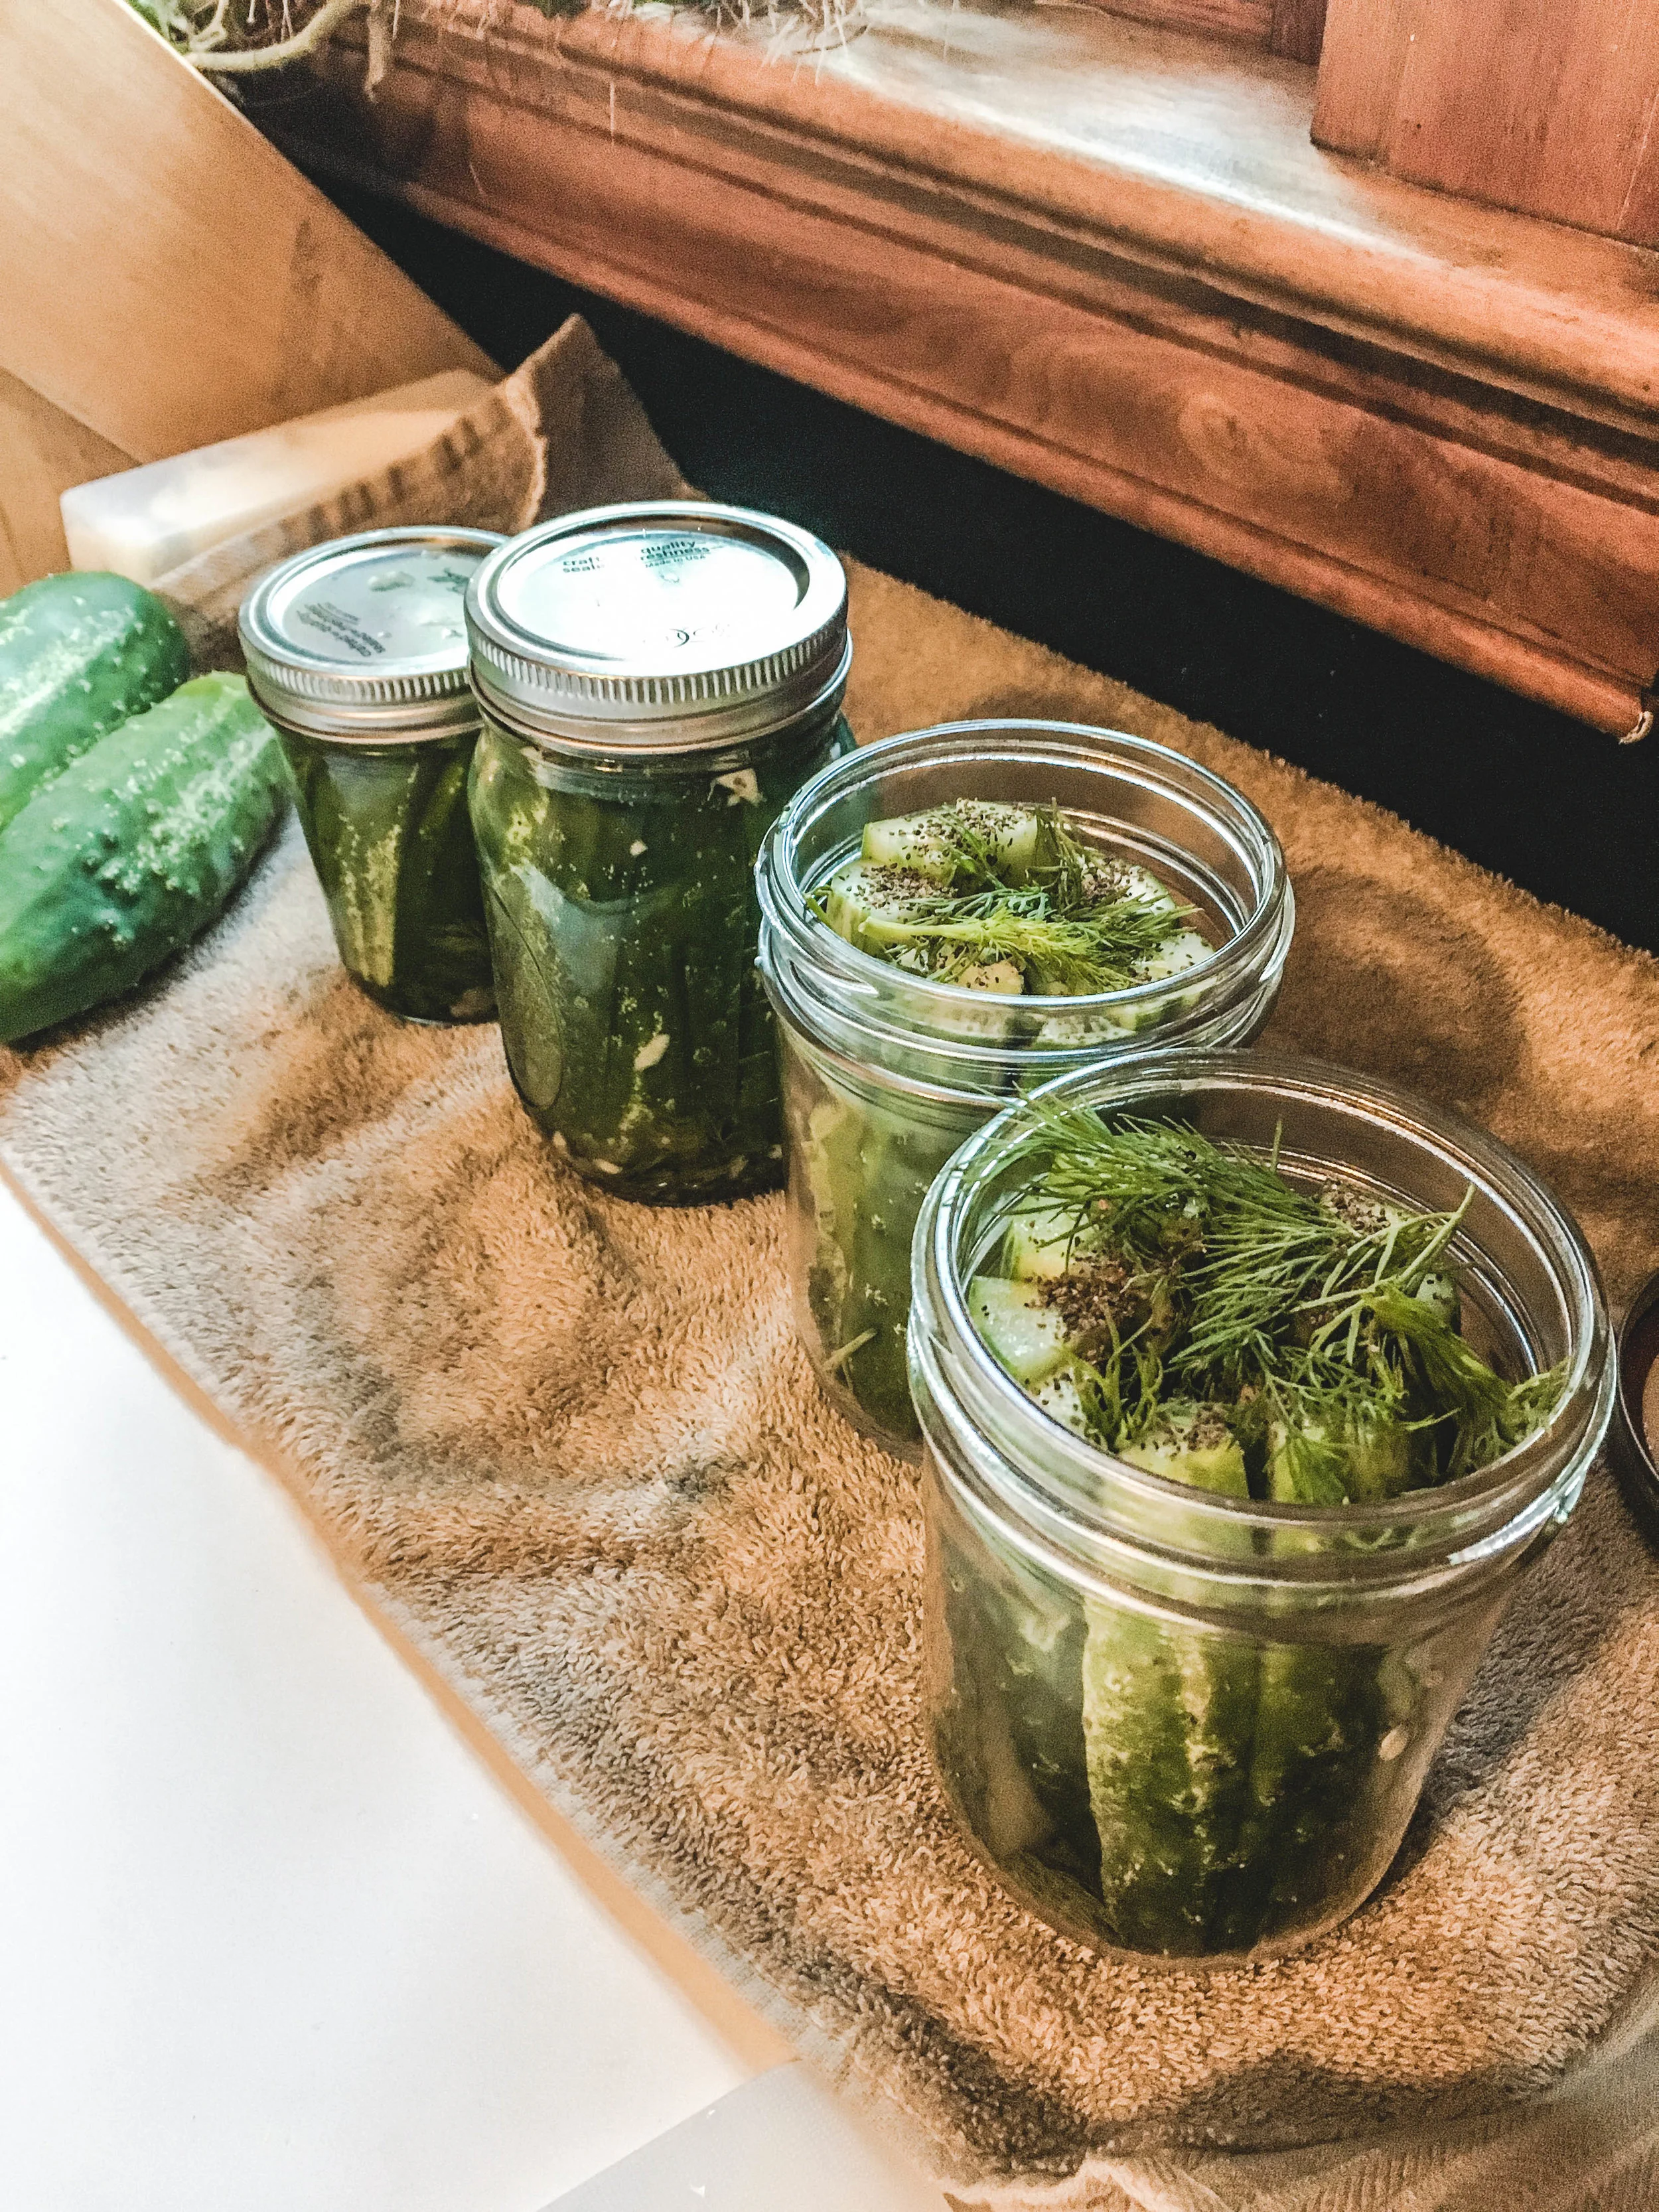
Step 3: Pack Your Jars
Now that your jars are cooled and your ingredients are prepared, you can start packing your pickles!
For each quart of pickles you’ll add two whole garlic cloves and plenty of dill. Depending on your taste level, you can add additional spices like celery seed, whole peppercorns and even hot peppers if you need a little heat in your life. I usually make a variety because I love giving my pickles away as gifts and I want to make sure I have options.
Make sure you leave about 1/4 of an inch at the top to ensure a tight seal.
Step 4: Make the Brine
The brine is the key ingredient to make your pickles, well, pickled! All you need is equal parts water and vinegar mixed with salt. So simple! Many recipes I've found also call to add sugar. I personally do not think this is necessary, but if you are so inclined, it's equal parts salt to sugar.
For every 3 cups of water, add 3 cups of vinegar and bring it up to a boil. Add 1/4 tablespoon of salt, (and if you're feeling festive, a 1/4 tablespoon of sugar) mix into liquid until fully distilled. And that's it!

Step 5: It's Pickle Time!
For your last step, add the brine to your packed jars, leaving about 1/4 in. of space at the top. A jar funnel is a handy tool to help with this process, but a ladle will work just fine. Securly close the lid.
If you don't want/need to make your jars shelf-safe, you can enjoy your pickles immediately! They will last for about 2 weeks in the refrigerator.
In order to make your pickles shelf-safe (for up to 1 year) you need to boil them again for 5 minutes, ensuring the tops of the lids are fully submerged. Once boiled, carefully remove and allow the jars to cool. You'll hear a delightful little ~POP~ and this is the sign your jars are fully sealed!

And that's it! Now you can impress your friends and family with some delicious home-made pickles. I told you it was easy :)


